
Closed doors can do a pretty good job of shutting out outside noises. However, the cracks between the door and the threshold or casing offer the right amount of space for a little bit of sound to come through.
To get nothing but silence, you need to mix and match a few strategies to seal those gaps. If you follow what’s said in this article for door soundproofing, then you’re going to achieve the highest amount of soundproofing possible.
Figure out your requirements for the room – whether it’s for your recording studio in your basement and you need complete silence or to make a room quiet enough to fall asleep – and start working using one of the three methods below.
Method 1: Sealing the Door with Metal Weatherstripping
You can create an amazing seal for the door and help keep noise from slipping in between the cracks in your door by using metal weatherstripping. While this weatherstripping does the exact same thing that average foam or vinyl stick-on weatherstripping does, it can do it so much better, and it lasts for a longer period of time – about 30 years!
It’s ideal to use this weatherstripping on doors that are facing the outside, especially when they need to be dependable at keeping bugs and water out of your home.
Materials & Tools


- AWLNails
- Bronze spring weatherstripping
- Tape measure
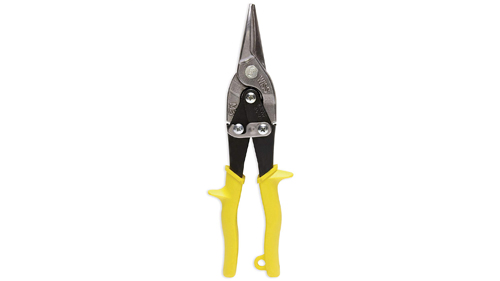
- Tin snips
- Hammer
- Marker
Step 1
Remove any pre-existing weatherstripping, then measure the length of the door jamb and the width of the door frame. After you have those measurements, unroll your bronze spring weatherstripping and grab your marker to mark off your cuts for the measurements you just took. Then, using the tin snips, cut the metal weatherstripping to the length of those measurements.
If your metal weatherstripping doesn’t already have holes, you’ll want to mark every 1.25 inches along the lip of the weatherstripping. This will help you when you’re nailing down the weatherstripping. You might even consider creating the holes manually; you can do this by placing the end of the AWL at every marked spot and then, using a hammer, tap the end of the AWL to drive the pointed end into the metal.
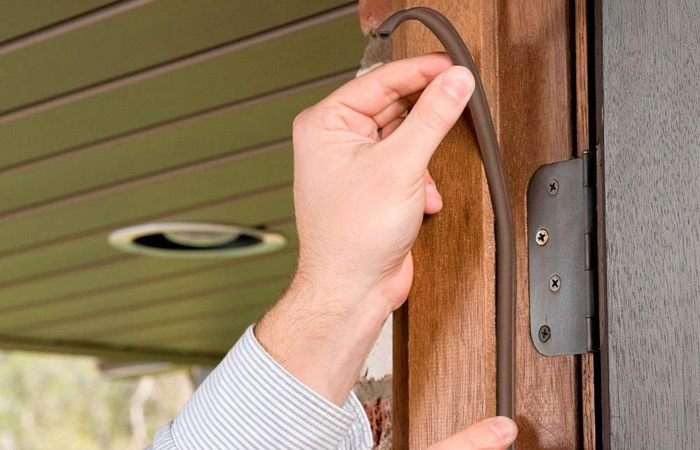
Step 2
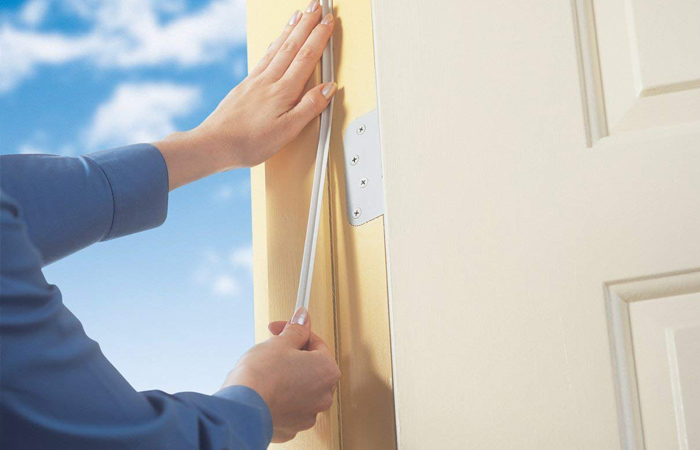
With your first strip of the weatherstripping, hang it along the door jamb from which the door is hanging from, making sure that your weatherstripping is almost touching the threshold. Using tin snips, cut away any metal that will impede on the hinges working.
Step 3
If your weatherstripping has pre-punched holes, carefully drive a nail into the first hole and the last hole on the strip, make sure that you don’t drive them in. Inspect the strip to make sure that it’s straight and make adjustments as needed.
If you’re working with weatherstripping that doesn’t have holes, drive the nails through using the first and last marks on the weatherstripping.
Once you have the weatherstripping straight, tap a nail halfway in the middle of it. Then continue to add nails along the strip at equal intervals.
Step 4
Using the second strip, repeat steps 2-4.
Step 5
Once you have all of the nails in position and you feel good with the position of the weatherstripping, finish driving in the screws or nails into the metal weatherstripping. Keep the screw or nailhead flush with the strip; don’t drive or pound the screw or nail into the metal because this will damage it.
Step 6
Place the strip at the top of the door; make sure to follow steps 2-4.
Method 2: Replacing the Threshold
As you live your life in your home, daily traffic can loosen or wear down the existing threshold on your doors. By installing a new threshold, you can keep unwanted noises from coming through.
Materials & Tools
- Screws
- Power screwdriver
- Interior door threshold
- Hacksaw
- Tape measure
- Hammer
- Vacuum
- Broom
Step 1
Using the power screwdriver, get rid of any screws that are holding the pre-existing door threshold in position. Removing the threshold is dependent upon its placement in relation with the door jamb:

- If your door threshold extends from door jamb to door jamb, you’ll need to wedge a pry bar underneath one side, then tap the end using a hammer to hoist it up enough, so you remove it.
- If you’re in a situation where the door jambs don’t extend to the ground but stop short above the threshold, you’ll have to cut through the middle using your hacksaw and then slide each section out individually.
Step 2
Using the vacuum or broom, you’ll want to clean out the debris and dirt before you place the new threshold.
Step 3
Using your tape measure, measure the opening that is left behind for the new threshold. With a pencil, mark those measurements on the new door threshold, cutting off the excess from one end using your hacksaw.
Step 4
Take your new threshold and slide it in the middle of the door jambs, use the screws and power screwdriver to fasten the new threshold to the floor under it. Then test your installation to see if there are any problems when the door is closed.
Method 3: Use Caulk to Seal Cracks
Noise can seep through the smallest of places, so you’ll need to seal any cracks that can be found around the door jamb, trim, and casing to complete your door soundproofing thoroughly. If you find any holes, deteriorated caulk, or holes while doing an inspection of the door frame, take your caulk gun and put in a new tube. Remember to cut off the end of the tip before you get started!
- For holes and cracks, you’ll want to place the end of the caulk gun directly above the hole or crack and gently press the caulk gun’s trigger, so it dispenses the right amount. You’ll need to fill in the hole or crack with a tiny bead of caulk and then, using your finger, smooth it out.
- For old, crumbling caulk, you’ll do the same thing, except you’ll need to remove the old caulk using a putty knife before you can apply the fresh seal.