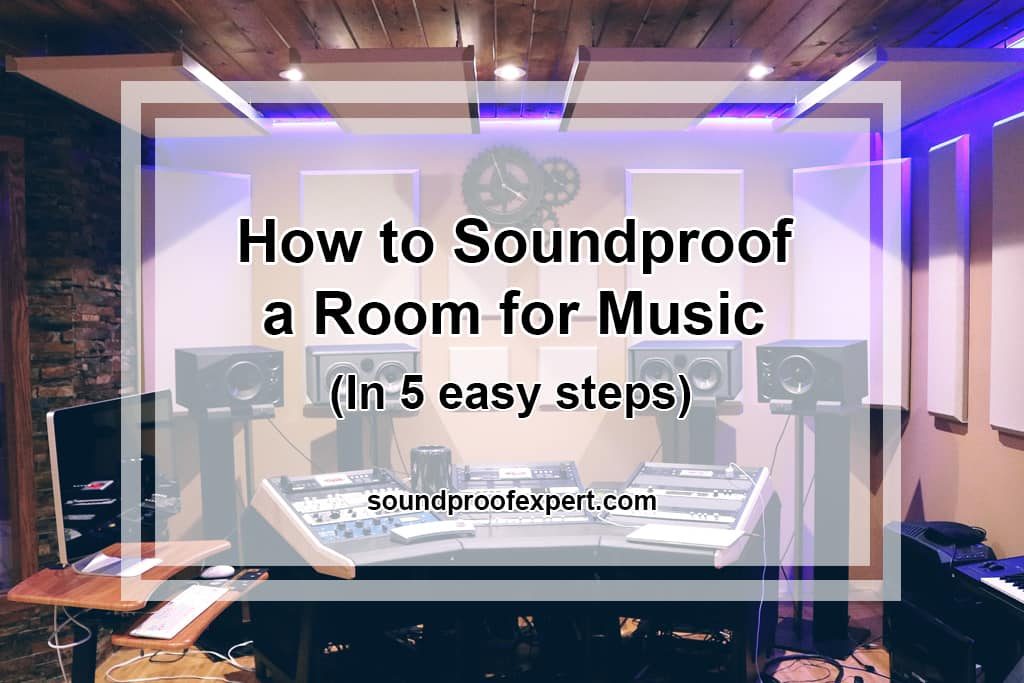
Music is what makes the world go round, so they say, but music has to come from somewhere. If you’ve never been in a band room at the local middle or high school, then consider yourself lucky to have avoided the chaos of the various sounds bouncing around.
The same goes for when that new guitar player decides he is ready to start his first garage band, and the drummer doesn’t have a volume knob, and everyone just turns their volume louder. That’s always fun!
The trick is to properly soundproof that practice area so everyone can get ready for the big show without sharing every step of the way with the entire neighborhood or the algebra class two doors down.
Soundproofing a room is not nearly as difficult as the music that can be produced in it. With these simple steps, we can prepare that room for music, theater, or a tag team wrestling event.
Step 1 – Measure the Room
First, we must measure the room to determine how much product will be needed and what type of product will be most practical.
These measurements will include the floor if we are practicing on a hard surface like concrete or hardwood floors; we will want a carpet/rug to cover the floor and prevent unwanted echoes of sound from the floor.
For the example today, I will use a room which is 10’ wide x 12’ long x 8’ high. Once you have all of your measurements, you can easily find a tile calculator that can help you to determine how much product you need to order based on what comes in a box.
Step 2 – Pick and Order the Products
For a simple home studio to practice in, I would recommend Amazon’s best-seller, Siless – 12 pack Acoustic Panels, which includes 1 inch thick panels in a 12 pack, and each piece is 12” x 12”.
Using our tile calculator, we will find that we need 120 pieces of tile or 10 boxes; not including any doors or windows. This will leave a few extra pieces that aren’t needed. At the current cost of $18.99 per box, our total would be $949.50 for all the walls and the ceiling.
The only thing left will be a method for hanging the acoustic panels to the wall and ceiling, such as command strips or fabric adhesive, which can be sprayed on. Flooring treatment will be in addition if your music space isn’t equipped with a decent carpet already.
Step 3 – Install the Products
After procuring all of your required items, it’s now time to start the installation.
Begin by starting in one corner of the room on a wall and applying each of the 12”x12” tiles side by side and touching by attaching the command strips to the back of the panel and then the wall.

Since the room in our example is 8 feet tall, we should have 8 rows that fit perfectly on the wall. Additionally, since the walls are even 10 foot by 12 foot, there should be no cutting required. Of course, if your room differs in dimensions or you need to maneuver around doors, windows, or electrical outlets, the panels can be cut with either a razor knife or scissors for easy application.
After finishing the sidewalls, you can then move to the ceiling and installing each of the panels from one corner to the other leaving no gap between the sidewalls and the roof panels.
Clean up any excess and mess and, if necessary, install your flooring accessories such as carpet or rug.
Step 4 – Put the Room to the Test
Once you have completed all of this, then it is now time to test out your DIY creation. Set up that jam band and have your drummer put on a 30-minute solo (also see my post on soundproofing a room for drums). You should be able to tell if any area of your room needs adjusting, or if the room is effectively soundproofed for music.
Other Additional Options
Most rooms aren’t completely interior or windowless, so if your music room has windows, you will want to soundproof the windows.
The best way to soundproof windows is by adding soundproof blackout curtains or a soundproof blanket to the window.
NICETOWN Thermal Insulated Blackout Curtains come in a variety of colors and will help soundproof any room where noise or sounds will be entering (or in this case, escaping) an area.
Another option is to add a soundproof blanket to the window to contain the sound within the music room.
Audimute Sound Absorption Dampening Blanket has a noise reduction coefficient rating of 0.85. This NRC of 0.85 means that 85% of sounds and noises are absorbed in this sound dampening blanket. You can place this blanket over windows or doors with windows that allow sounds to enter the home.
In this case, you will want to place this blanket over the windows so that you keep the sound contained in the music room. This blanket will greatly reduce sounds and noises from leaving your soundproof music room.
Final Thoughts
Making your own soundproof music room is very feasible even for an amateur. With a few soundproofing materials, you can easily turn a normal room into a fully functioning music room that is fully soundproofed.
You can easily do it yourself by purchasing a few simple soundproofing products. The soundproofing tiles are easy to install and will be at the core of your soundproof music room. If you find you need additional soundproofing elements, you can seal any cracks of the walls or windows by using a noise proofing sealant. If you need to increase the soundproofing, you can add additional soundproofing elements, such as soundproof curtains or blankets to windows or doors located in the newly soundproofed music room.


