

Soundproofing a PC case is a pretty straightforward process, even if you’re not tech-savvy. You only need a few supplies and the ability to follow instructions.
Here’s how to effectively soundproof a PC case:
- Purchase/repurpose soundproof foam.
- Remove the PC case.
- Cut the foam sheets to fit the various PC case panels.
- Install the foam sheets and reassemble the PC case.
Read on for a detailed explanation of these steps, what to expect as far as soundproofing your PC case and noise reduction go, and tips on addressing PC noise issues at the source.
1. Purchase/Repurpose Soundproof Foam
The most effective way to soundproof a PC case is to line it with sound-absorbing foam sheets. Also known as sound barrier sheets, these stick on the inside of your PC case and work by absorbing and dissipating noise generated by your computer’s components.
As far as your buying options go, you’re by no means limited. A quick online search will return various PC soundproofing foam sheets from various brands, each priced differently. It’s up to you to know what you’re looking for and use that information to choose the best buy for your budget.
When making that choice, you’ll want to pay special attention to the thickness of the foam sheet. Thicker is better when it comes to noise reduction. You’ll also want something that isn’t rocket science to install.
Let’s look at two of the most commonly used foams to help you choose the best soundproofing material for your budget.
Repurpose Car Sound Deadener
Dynamat sells one of the easiest-to-install soundproofing foam sheets you can purchase for your PC: the Dynamat Self-Adhesive Sound Deadener (available on Amazon.com). This 0.067″ (1.7mm) thick peel-and-stick sound-absorbing foam may have been originally designed for car soundproofing, but it works wonders for PCs, too.
If you have any leftovers from a recent automobile soundproofing project, you can cut it to size and stick it to your PCs inside to deaden the noise. If you don’t have any leftovers and insist on using this material, purchase a cut-to-fit PC kit for about $30 directly from the manufacturer, so you don’t have to spend on a full-size sheet.
Purchase the Silverstone SF01 Sound Dampening Foam
This is an ideal option if you prefer a sound deadener specifically designed for PC soundproofing and are on a budget.
At 4mm (0.2″) thick, the SilverStone SF01 Sound Dampening Foam (available on Amazon.com) is thicker than Dynamat. It’s also equally easy to install through a peel and stick mechanism. What’s more, it’s cheaper than Dynamat’s cut-to-fit kits, so extra thickness doesn’t necessarily mean spending more.
In my opinion, the Silverstone SF01 is a better option for budget PC case soundproofing than Dynamat, unless you already have Dynamat sheets lying around.
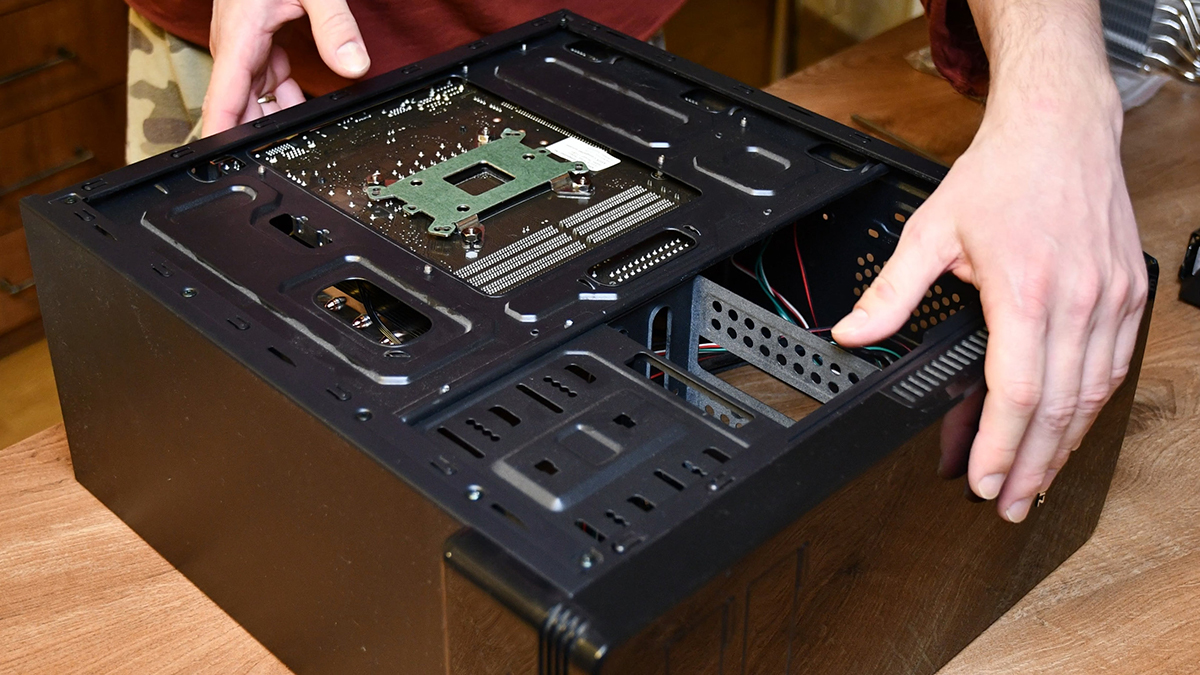
2. Remove the PC Case
Since soundproofing foam sheets go to the inside of the case, you’ll need to take apart your PC to free up the front, top, back, and side panels. The exact steps for this vary with the PC model because different manufacturers use varying mechanisms to hold a computer case together. For instance, some PCs have cases held together by screws, while others are screwless.

Since covering the steps for the most common brands is beyond the scope of this post, I’ll have to refer you to your PC’s user manual for instructions on how to remove the various case panels. Once you remove the various panels, be sure to wipe them clean.
3. Cut the Foam Sheets To Fit the Various PC Case Panels
This is arguably the trickiest step in fitting your PC case with soundproof foam because you need to make precise cuts.
The first thing you’ll want to do is mark the position of the various vents on the respective case panels. These are parts you don’t want to cover with the foam because doing that would compromise your PC’s cooling mechanism and cause your fans to spin faster, which translates to a noisier unit.
After marking the parts that don’t need covering, proceed to measure and cut foam sheets to match the moldings of your PC case’s inner side. As far as precision goes, avoid cutting oversized sheets. If anything, cut smaller sheets (by an inch or two max) because soundproofing foam tends to stretch a little when installed.
4. Install the Foam Sheets and Reassemble the PC Case
With your precision cut foam sheets ready and various panels clean, proceed to peel and stick the various cuts to their respective places on each panel. This should be relatively easy to do as long as you don’t oversize your foam sheet cuts.
Once you’re done, reassemble your PC case and see if you have a quieter PC. Again, consult your user manual for assembly instructions.
More help: If you get stuck in any of the above steps, you can always consult this video tutorial:
It’s essentially a summary of the process we’ve covered above.
Will Soundproofing the Case Eliminate PC Noise?
Soundproofing the case by installing acoustic foam sheets on your PC case will make a noticeable difference, but it’ll only eliminate (all) the noise if you have a relatively quiet PC, to begin with.
If you have an extremely loud PC, you’ll need to address the root cause of the noise. Why? Because your vents (which you can’t block with acoustic foam for the sake of your PC’s health) are still going to let out a significant amount of noise.
Luckily, there’s a lot you can do to further quiet your PC if installing sound dampening foam doesn’t eliminate all the noise:
Addressing the Root Causes of PC Noise
More often than not, a noisy PC has more to do with overly vocal internal components than a thin case. That’s why soundproofing the PC case won’t quiet an extremely loud one.
If yours is more vocal than the average PC, you’ll need to dig deeper than the case to tackle all the spinning, vibrating, whirring internal components.
What are these spinning, whirring, vibrating noisemakers?
Here are the most common culprits:
- Hard drives
- Fans
Depending on which of these two you’re up against, there are several things you can do to address PC noise issues at the source:
- Install bigger fans. A 120mm (4.72”) fan needs to spin less (i.e., slower) to achieve the same cooling effect as an 80mm (3.15”) cooling fan. The slower your fan runs, the quieter it’ll be.
- Consider installing a manual controller module if your fans still don’t run slow even after replacing them with bigger ones. These allow you to manually dial down your fan speed to minimize noise with the twist of a dial. They fit on a 5.25-inch (13.34 cm) drive bay, which most computers have. If you opt for a manual controller module, keep an eye on your PC’s temperature; monitoring software like SpeedFan can help.
- Consider powering your fans off the “system fan” plugs on your motherboard instead of the power supply. This allows your PC to adjust the fan speed according to its temperature measurements. That’s different from when fans are powered directly from the power supply, which constantly keeps them running at maximum speed.
- Swaddle the hard drive. Spinning hard drives can create vibrations on your PC case and rattle parts that shouldn’t be rattling. To fix this, buffer the screws used to mount the hard drive to the case using rubber washers. Alternatively, engulf your hard drive with an enclosure like AeroCool.
Final Thoughts
Hopefully, this step-by-step walkthrough has cleared up the air regarding soundproofing a PC case and added to your understanding of noise control in a computer. As you work on your unit to quiet it, be sure to take safety precautions to avoid cuts, electrocution, and electrostatic discharge damage.