
Finding an ideal space to rent a recording studio can be an uphill battle. Just the thought of the overhead gets your heart racing for all the wrong reasons because your finances will take a nosedive. But before you throw in the towel, building a soundproof booth in your home is the answer you’ve been hoping for.
The beauty of it is that it doesn’t have to cost an arm and a leg. You’ll get to record clear and professional vocals at a fraction of the price. And what’s better than working from home? It would be a dream come true, right?
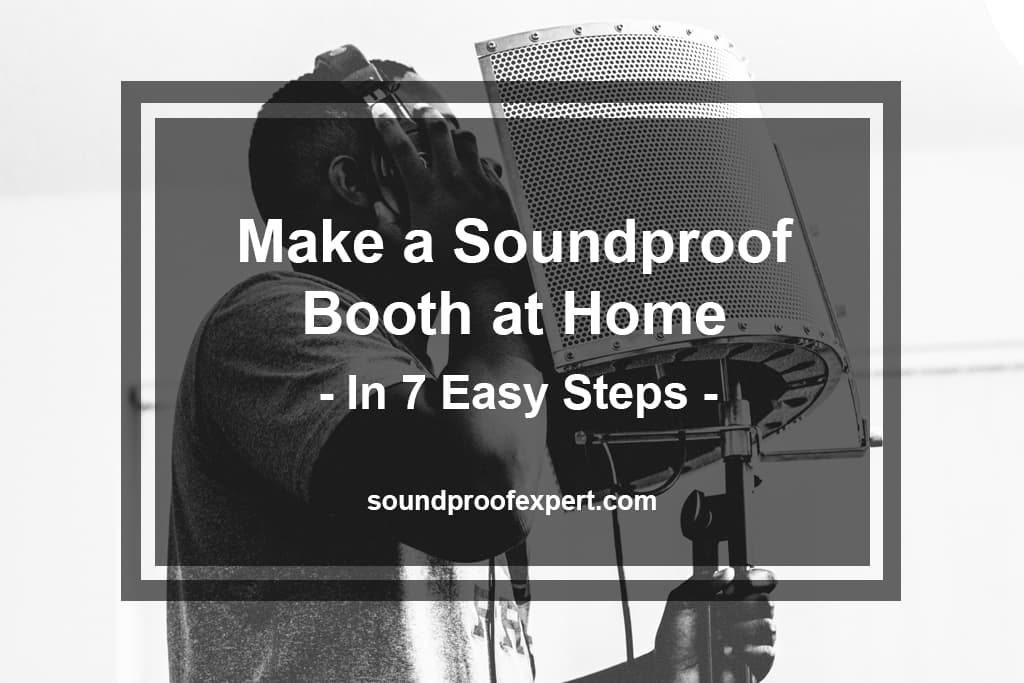
However, this is just one piece of the puzzle. This article explores the step-by-step process of how to make a soundproof booth from scratch that’ll leave you teeming with joy. Dive in!
What You’ll Need
Building a soundproof booth is no easy feat. But like everything else in life, you can achieve anything you set your mind to. So, below are the materials you’ll require to kick-start the process.


- Wooden frames
- Drill machine
- Screwdrivers
- Door
- Drywall sheets
- Sealant
Once you have all the tools of the trade, you have your work cut out for you.
Step 1: Finding an Ideal Space
This is perhaps the crux of the matter. You’ll need to make sure that the place you settle for is barely used, if at all. Moreover, the chosen space will need to have enough room for you to pace around, to avoid feeling cramped up as you work.
Therefore, you can consider freeing up your basement, garage or attic. Based on the exact size of your chosen space, you can then formulate a plan of action.
Step 2: Framing the Walls
Most of the doors used in our homes tend to be hollow on the inside. The echo created after a simple knock on the door bolsters this fact. So for such doors, the best option is to get a sound-absorbing blanket. You’ll be pleasantly surprised at how effective it is in noise reduction.
Step 3: Working on the Door

Now that we have our wall frames in place, it’s time to shift our focus to fixing the door. A door that’s ready-made is an easy option compared to building one from scratch. So, ensure the door you purchase is solid, which means it doesn’t produce any echo when you knock on it. It may be slightly pricy but worth it.
But, for those working on a shoestring budget, generic hollow doors coupled with sound-absorbing blankets will do the trick. The knobs and pins should be properly screwed on to prevent the door from crumbling down.
Step 4: Throw in the Soundproofing Material
At this point, you’re halfway through because you now have a booth. Nevertheless, the objective is to make it soundproof. Selecting soundproofing material can be challenging, given the barrage of options we have in the market. Nonetheless, when it comes to a soundproof booth, you can take your pick from the two viable options below.
- Drywall: Pressed between a backer and facer, drywall is a panel that’s a product of calcium sulfate dihydrate. Not only is it conveniently available in hardware shops, but it is also a beast in soundproofing. Therefore, those who settle for this option will need to install it on the booth’s interior and exterior frames, while ensuring there are no gaps. You’ll also require using some screws to ensure the drywall is firmly held in place.

- Acoustic foam: Designed purposely for recording booths and studios, acoustic foam panels come in a wealth of shapes, sizes, and capabilities. This leaves you spoilt for choice,deciding on the material to settle for. Nonetheless, scout for the one that tallies with your budget and needs.
For example, if you’re an artistic person then these foam panels are right up your alley. You can organize them to form an appealing pattern. You also have free rein to take your pick from the multitude of designs and colors. However, as is the case with drywalls, acoustic foam panels require proper installation to stay in place.
Step 5: Drilling Holes

This is essential if you plan on using your soundproof booth at home as a recording studio. Drilling holes in the frame paves the way for easy installation of essential cables, such as signal cables.
Step 6: Sealing the Gaps
When it comes to sound transmission, most of us fail to realize that even the tiniest gaps can quickly turn into major setbacks. So, once you’ve set up everything, you’ll need to carefully scan the soundproof booth, keeping your eyes peeled that all the gaps or holes are sealed. To accomplish this, a silicone caulk will come in handy.
Step 7: Weatherstripping Is Your Friend

In a nutshell, weatherstripping refers to the perfect ‘cocktail’ of materials that are effective in sealing gaps. It comes into play when you’re soundproofing the door of your booth. While all the holes may be sealed, air coupled with sound may stream in and out through the door. So, weatherstripping eradicates this problem once it’s coated on the door frame.

There’s also the option of installing a sweep at the bottom of your door. This aids in sealing the gap between the floor and door when it’s shut. However, you’ll need to make sure that the door is still functional with the added material.
Light Up the Room
This is the last but crucial piece of the puzzle. It’ll be dark and eerie when you step into your booth. So, a source of light is essential. But, since soundproof booths tend to get warm in a jiffy, low-energy lighting is ideal. Moreover, you should steer clear of dimmers for your booth. This is because they inject buzz and hum into the audio recording, and that’s the last thing you need.
And with that, you now have a kick-ass soundproof booth.
Make Your Dream a Reality
Regardless of whether your goal is to make sweet music from the comfort of your home, or a quiet space to work and have some R&R, a soundproof booth is an amazing option. The best thing about it is that not much is required. Simply follow the above steps and turn your dream into a pleasant reality.