

Anyone who has a noisy fridge can relate to the sheer annoyance of cohabitating with this ever-droning piece of machinery. Faced with a loud compressor, most people will simply give up and buy a new fridge.
However, buying a new fridge is the very last thing you should do to quiet a noisy refrigerator compressor.
Without further ado, this is how to quiet a noisy refrigerator compressor in 7 easy steps.
This is the easy and affordable step-by-step guide how to stop the fridge vibration noise:
- Determine the source of the noise
- Level the legs
- Place a mat beneath the fridge
- Make a soundproofing board
- Install the soundproofing board
What You’ll Need
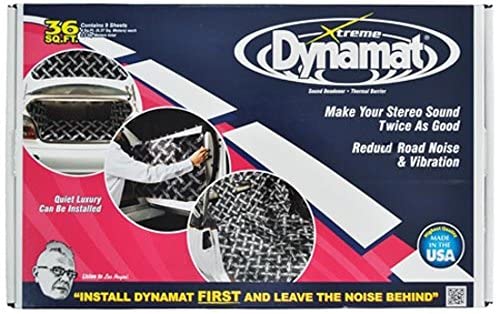
- Sound-deadening mat, from Dynamat or HushMat.
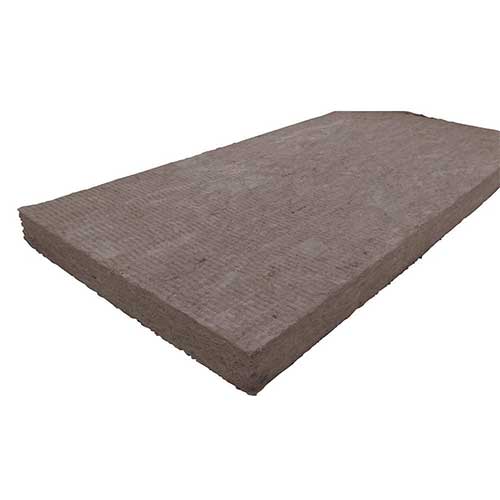
- Acoustic foam paneling. Try Rockwool or buy this excellent 12-pack from Fstop Labs.
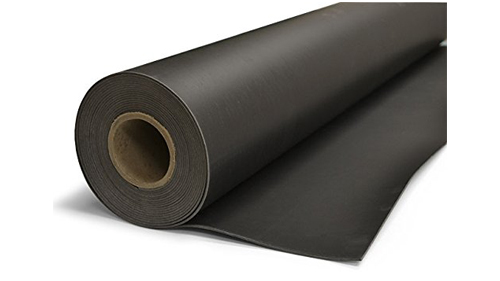
- A sheet of mass loaded vinyl
- A cut of medium density fiberboard or wood a few inches wider and taller than your fridge.
- Nails or glue.
- Acoustic sealant.
Before you try the steps explained below, you might need some or all of the following:

Quiet a Noisy Refrigerator Compressor in 5 Easy Steps
Step 1: Determine the Source of the Noise
Dealing with a noisy fridge can be a real hassle because there are actually several parts of the fridge that can be making noise: the compressor, the drain pan, the defrost timer, the condenser fan, or the evaporator fan.
Therefore, step 1 is essential because you must first be absolutely sure you’re dealing with a compressor that is making noise. If the noise is a kind of rattling that seems to be coming from the bottom of the refrigerator, you might be tempted to think that the compressor is making this racket. A sound coming from the bottom of the fridge is more likely to be coming from the drain pan. Fixing a rattling drain pan is easy: just make sure the pan is secure, and it will rattle no more.
If the noises are coming from the inside of the fridge, it’s either coming from the condenser fan or the evaporator fan. Only some refrigerators have condenser fans, but almost all will have evaporator fans.
Condenser fans are usually located behind an access panel at the back of the fridge, while evaporator fans are located in the very back of the freezer. Both may cause noise if debris is allowed to build up.
Simply clean the fans, and the noise will likely decrease, giving you a quieter fridge. If not, you may need to replace the fans. Finally, if your noise is coming from the back of the refrigerator, it is, more likely than not, your compressor. If this is your case, you’ve come to the right place.
Step 2: Level the Legs
Don’t worry; I’m not going to ask you to break out the saw. Virtually all refrigerators currently in circulation have adjustable legs that can be twisted to adjust the height. Use a level to make sure your fridge is level: even if your fridge is slightly off-kilter, the compressor can make extra noise.
Step 3: Place a Mat Beneath the Fridge
This is another effortless way to reduce noise from a compressor without having to reinvent the wheel. Simply place a mat beneath your fridge. I highly recommend Dynamat, but I’ve found HushMat works quite well as well.
Step 4: Make a Soundproofing Board
So if you’ve tried leveling the legs and placing a mat beneath your refrigerator and you’re still hearing that nagging drone, it may be time to break out the big guns. Or, we might say, the big board. A soundproofing board is very simple and cheap to make but can dramatically reduce your refrigerator’s noise.
One of the reasons it can be so tricky to quiet a noisy refrigerator compressor is that the compressor itself is responsible for cooling down your fridge as it works hard to keep your perishable goods cold.
If you cover up the compressor with soundproofing material, your fridge has the potential to overheat. Then, instead of just dealing with the migraine-causing noise, you’ve got the migraine-causing cost of a new fridge.
Thus, one easy way to quiet a noisy refrigerator compressor is to soundproof the wall behind the fridge. Your soundproofing board will act like a loving mother, catching all those errant sound waves in a warm embrace and keeping them from bouncing around your kitchen. Making a soundproofing board is extremely simple.
Making a Soundproofing Board in 3 Easy Steps
- Get a cut of medium density fiberboard or wood a few inches wider and taller than your fridge.
- Attach a sheet of mass loaded vinyl to the fiberboard or wood. Use nails or glue. Seal with acoustic sealant.
- Cover the whole piece with acoustic foam paneling (remember to try Rockwool or buy this excellent 12-pack from Fstop Labs). Note: be very careful with glue usage. Too much glue can ruin the efficacy of the acoustic foam paneling.
With those easy steps, your soundproofing board should be ready to install!
Step 5: Install the Soundproofing Board
Now you’re ready to install your soundproofing board with your noise reduction kit. Remember when installing the soundproofing board that you need to install on the wall behind your fridge, not on the fridge itself. Use glue or nails to attach your soundproofing board to the wall, and simply push your refrigerator back into place. With any luck, this quick fix will keep your refrigerator from being so noisy!
Extra Tips / Next Steps
If you’ve tried our five easy steps and you still feel the noise is too much for you to handle, there are a couple of other methods that have produced some success.
Tip: Move Fridge to an Alcove
If you feel that your fridge is making too much noise in its current location, it may be worth considering moving your fridge into a cozy little alcove. The alcove will trap the sounds behind the fridge so that you don’t have to listen to them roaming around your apartment like they own the place.
Tip: Install a Shelf!
If you don’t have a spare alcove lying around your apartment, you need not fret just yet. We have another solution that can prove really handy in killing sound. The principle is the same as the alcove, in that the sound will get trapped between your fridge and another barrier.
You could try installing a shelving unit on one or both sides of your refrigerator. The shelving unit will reduce noise and create room for organization. Maybe it’s time you started Kondoing?
Tip: A Truly Noisy Compressor
If you have a truly noisy compressor, this is likely not how the refrigerator was designed.
You may need to bring in an expert for consultation. You may need to replace the compressor, but this is certainly cheaper than buying a brand new fridge.
Unfortunately, if your compressor is truly noisy, there’s little to do in the typically bright and cheery world of DIY.
Conclusion
A noisy compressor on a fridge can make being at home a total pain rather than what it’s supposed to be: a total pleasure. Reducing the rattling noise from a noisy compressor is typically quite simple and affordable. Why not do it now? In summary, the main steps to quiet a noisy refrigerator compressor include:
- Determine the source of the noise
- Level the legs
- Place a mat beneath the fridge
- Make a soundproofing board
- Install the soundproofing board
Remember not to install the soundproofing board to the fridge itself but the wall behind the refrigerator. Otherwise, your fridge might overheat. Enjoy the peace and quiet!
Have additional tips for us? Leave your comments below!
Interesting article. How well would this work on low frequency sounds? Mr fridge isn’t loud or harsh standing next to it but emits a hum throughout the house like a car idling outside your house. It’s the compressor for sure as it does vibrate. I’ve touched around to feel the vibration and it does not seem bad but there’s some resonance going on.
Thank you for the article. I don’t understand what purpose the mass-loaded vinyl serves. You seem to recommend absorbing sound off the rear of the fridge (compressor) with fiberglass/rockwool, which is of course a valid and demonstrable way to reduce noise, but putting mass-loaded vinyl behind the absorber doesn’t serve any purpose that I can imagine unless you are trying to stop sound from passing through the wall behind the fridge.