

We’re living in a world where noise pollution is taking over our day-to-day. And, the repercussions of this are much greater than we realize. Being constantly bombarded by noise has adverse effects on our hearing. But, this is the least of our worries. Other health adversities that stem from noise pollution are elevated stress levels, decreased productivity, a stroke, and increased high blood pressure.
Nonetheless, for every problem lies a viable solution. In this case, it’s a simple sound absorption technology known as acoustic panels. They boost the quality of sound while eradicating noise, echoes, and reverberations. In turn, this improves the overall quality of your life.
To that end, let’s explore a simple step-by-step process of how to build effective sound panels from start to finish.
How Do Acoustic Panels Work?
Being a beast in sound absorption, acoustic panels save our ears (and nerves) from the everyday noise that bombards us. This is courtesy of the soft, sponge-like material they’re made of. It traps the noise in its threads, thereby preventing it from bouncing off of it, as would be the case with flat and rigid surfaces. In turn, this eradicates echoes and reverberations, hence making the room notably quieter.
Nonetheless, it’s vital to bear in mind that sound panels don’t soundproof the room in which they’re installed. Instead, they elevate the acoustics of it.
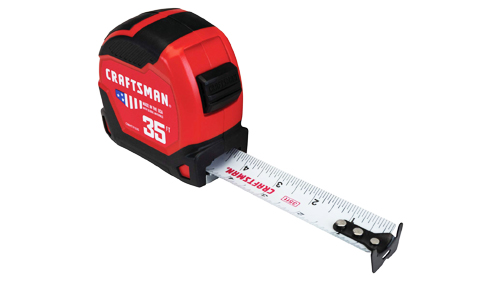
The Tools of the Trade
Assembling all the tools you need for your DIY sound panels not only saves time but also makes the process easier and faster. So, here’s what you’ll require.


DIY Sound Panels: The Step-By-Step Process
Now that you’re armed with the required tools, you have your work cut out for you.So, let’s delve into the step-by-step process of making top-notch DIY sound panels.
Step 1: Build the panel frame
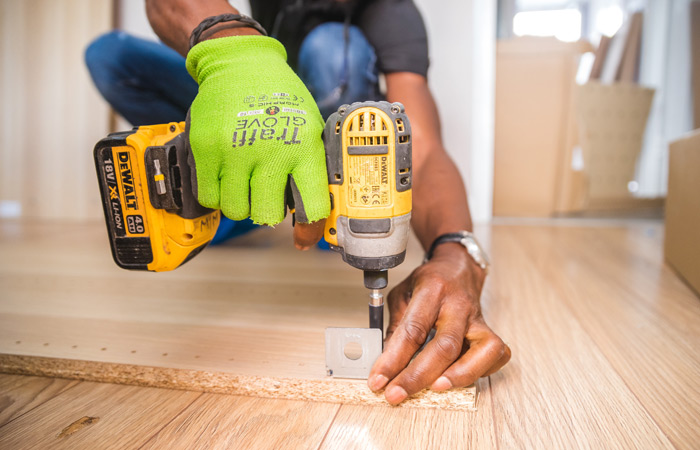
It entails measuring your boards then dicing them into the ideal dimensions. Therefore, each 8-foot board should be diced into equal pieces of 24 inches and 49-3/8 inches. When we do the math, we’ll get 12 sideboards coupled with 12 top boards that collectively make up, six-panel frames.
Once you get the cutting process out of the way, it’s time to lay the boards and line the insulation panel inside. Then, using a pencil, mark the spots that you’ll screw your frame in to attach the insulation core.
When drilling, ensure the holes are slightly smaller than the screws you’ll use. Doing so holds everything tightly in place, thereby preventing the boards from possibly loosening or splitting.
Now, we complete the puzzle. This involves spraying adhesive along the outer edges of your insulation panel. Then, let it seat perfectly in the frame and give it 24 hours to cool.
Step 2: Prepare the fabric for the panels
Here’s the chance to get your creative juices flowing because you can transform the unpleasant-looking panels into beautiful works of art. But, don’t get carried away. Remember, the goal of these panels is sound absorption. So, you’ll want to settle for fabrics that don’t reflect sound and absorb it instead.
To test this, hold you the selected fabric against your mouth and blow into it. If you feel the resistance and pressure, then you may as well toss it in the trash can because it won’t get the job done.
Therefore, some examples of sound reflective materials that you want to steer clear from are leather, acrylic fabrics, and vinyl. And, the ideal fabrics that you should scout for are acoustic foam, glass wool, or mineral wool, among others.
Step 3: Hang the panels
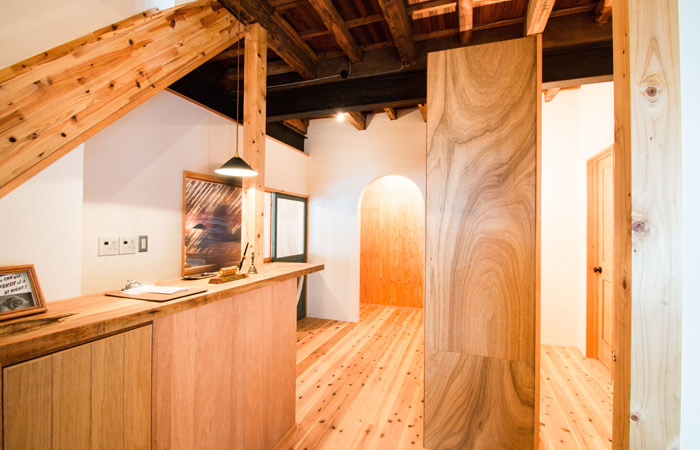
Photo by Takafumi Yamashita on Unsplash
There’s no formula here. You simply hang them on the wall just as you would, any wall frame. Especially if you’ve injected a little creativity and made your panels look like pieces of art. However, for optimal results, leave a spacing of two inches between the panels.
Moreover, ensure the panels are hung securely in place with heavy-duty hangers to prevent them from falling off the wall. Place these hangerson both sides of the frame and the precise spacing from its edge.
The Benefits of DIY Sound Panels
1. Easy installation and maintenance
You can heave a huge sigh of relief because the creation process of DIY sound panels won’t require your blood, sweat, and tears. The installation process is quite straightforward and doesn’t require a lot of effort.
As for maintenance, these sound panels don’t require much. Generic soap and water or a carpet cleaner will do when it comes to cleaning and getting rid of stubborn stains.
2. Flexibility
Sound panels come in a wealth of fabrics, thickness, and colors that can brighten up anyone’s day. This grants you free rein to blend them in with the room’s interior design, thereby enhancing the beauty of the space.
3. Increased Confidentiality
The installation of sound panels in your home or office boosts confidentiality. This is becausethese panels are a beast in sound absorption. So, they trap sounds and prevent them from being heard outside the room, thereby enhancing privacy.
4. Decreased Stress

Sound panels diminish noise volumes. In turn, this lowers stress that’s brought about by unwanted sounds.
5. Portability
Sound panels can easily be moved from one place or room to another, which enhances convenience. So, when the need to move them arises, you easily use a stand to prop them up and take them down as you wish.
6. Increased Productivity
Workspaces with sound panels installed elevate productivity levels because they block out excessive noise. This boosts concentration as a result of the room being more silent.
Enjoy the Fruits of Your Labor
DIY sound panels are an inexpensive way of boosting the quality of your home. Moreover, the process isn’t time-consuming. So, it can be a fun weekend project while you gain more knowledge on sound absorption. Once the panels are set in place, you can kick back and enjoy the fruits of your labor. You’ll be whooshed away because it’ll feel like you’re sitting in a completely different room.